Honkai: Star Rail 3.2 Castorice Full Guide – Best Teams, Build Optimization, and Tier Rating
This comprehensive guide dives into Castorice, the limited 3.2 anniversary character in Honkai: Star Rail. From pull advice, relic builds, to performance across various modes, we break down everything F2P to advanced players need to know. Is she worth pulling? How do you maximize her burst? Read on to find out.
🔥 Special offer: Honkai Star Rail Top Up now available at itemD2R with instant delivery!
Table of Contents
- 1. Who is Castorice and Is She Worth Pulling?
- 2. Tier Performance Overview
- 3. Build Guide (Traces, Light Cone, Relics, Crit Ratio)
- 3.5. Eidolon Analysis – Which Ones Are Worth It?
- 4. Best Team Compositions (Solo Carry & Dual Carry)
- 5. Popular Questions (Q&A)
- 6. Pulling Strategy & Future Buffs
- 7. Conclusion: System Strength > Unit Strength
1. Who is Castorice and Is She Worth Pulling?
Castorice is the 3.2 anniversary-limited Quantum Erudition burst DPS. She summons a skeletal dragon that deals AoE damage via breath attacks and self-detonation. With extremely high burst potential and low team dependency, she’s F2P-friendly—even new players can pair her with free units for impressive results.
While not "meta-defining" across all content, Castorice thrives in current HP burn/healing-centric metas, especially within Remembrance-focused setups. She offers excellent cost-performance for low spenders.
2. Tier Performance Overview
- Memory of Chaos: S-Tier
-
- Double-threat output: Dragon breath (AoE) + detonation (ST).
- Synergizes well with Remembrance/HP scaling—clears Floor 12 easily.
- Simulated Universe: S-Tier
-
- Gold-tide + Forced March blessings improve healing and burst cycling.
- Dragon tanks hits, Castorice revives well, highly stable in high-difficulty modes.
- Apocalyptic Phantom: Variable
-
- Excels against HP regen/burn bosses, struggles slightly in hit-count break challenges.
- Even when Quantum is not weak point, her burst reaches 1M+ damage.
- Pure Fiction: A-Tier
-
- Powerful burst but low frequency—not ideal for mob-clearing.
- Pair with Topaz for higher hit count, stable 30k+ scores.
- Daily Farming: A-Tier
-
- Dragon auto-cancels attack when enemy dies—low micromanagement.
- However, forced detonation delays new summon cycle slightly.
Summary: Castorice excels in most core content. Her output depends slightly on environment but offers strong burst with low investment.
3. Build Guide (Traces, Light Cone, Relics, Crit Ratio)
✅ Pros & Cons Overview
- Pros: Massive burst, high damage per action, low team cost.
- Cons: Low frequency, struggles with low-HP cleanup.
🎯 Trace Priority
Ultimate > Talent > Ult Trace ≈ Talent Trace > Skill
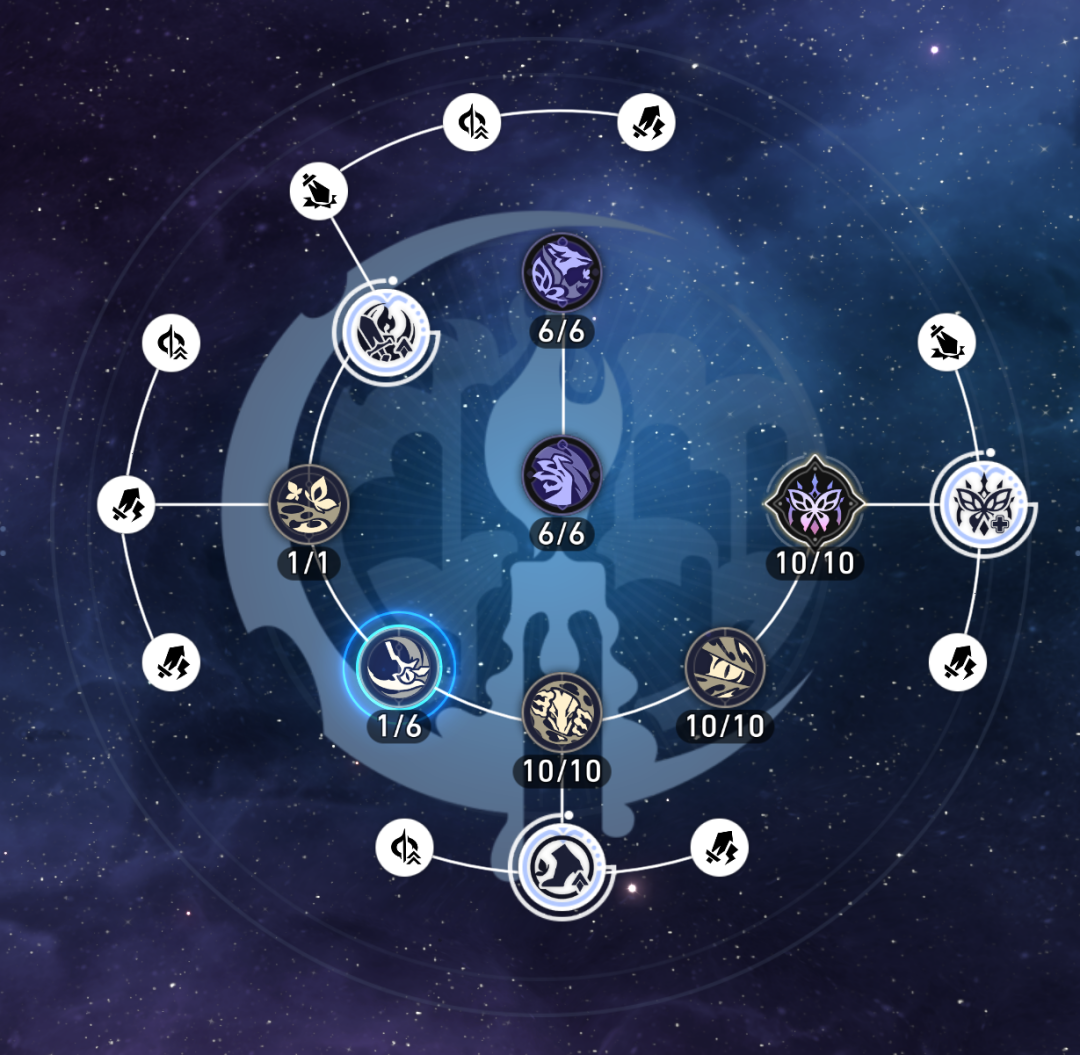
- Ultimate: Extends breath damage via Dragon summon.
- Talent: Applies DEF shred to all enemies.
- Skill: Only for charge/burst filler.
🧿 Best Light Cones
- Signature: "The Unremembered" – HP boost + DEF ignore + ATK speed boost.
- "Before Dawn" – Crit Rate + Erudition scaling—strong long-term option.
- "Today is Another Peaceful Day" – Budget HP-scaling substitute.
🛡️ Relic Sets
- 4pc Poets of the Hollow Song (32% Crit Rate)

- 2pc Longevous Disciple (Crit DMG)

Main Stats: Body (Crit Rate/DMG or HP), Boots, Rope, Orb (HP or Quantum DMG)
Substats: Crit Rate, Crit DMG, %HP
📊 Crit Rate Thresholds
- With Memory MC: ≤ 58% Crit Rate
- With Sunday: ≤ 48% Crit Rate
3.5. Eidolon Analysis – Which Ones Are Worth It?
- E1: – Bonus DMG to low-HP enemies. Great for cleanup.
- E2: ✅ Core Eidolon – Longer breath, higher burst. Also quickens next summon cycle.
- E4: – Recovers energy on healing. Minor impact.
- E6: – DEF shred, extra bounce on explosion. Massive single-target spike.
Suggested Combos:
- F2P: 0 + 1 or 2 + 0
- Light spenders: 0 + 1 or 2 + 1 (best value)
Conclusion: E2 is the best single investment for smoother burst cycles. F2P players will still be fine at E0+1.
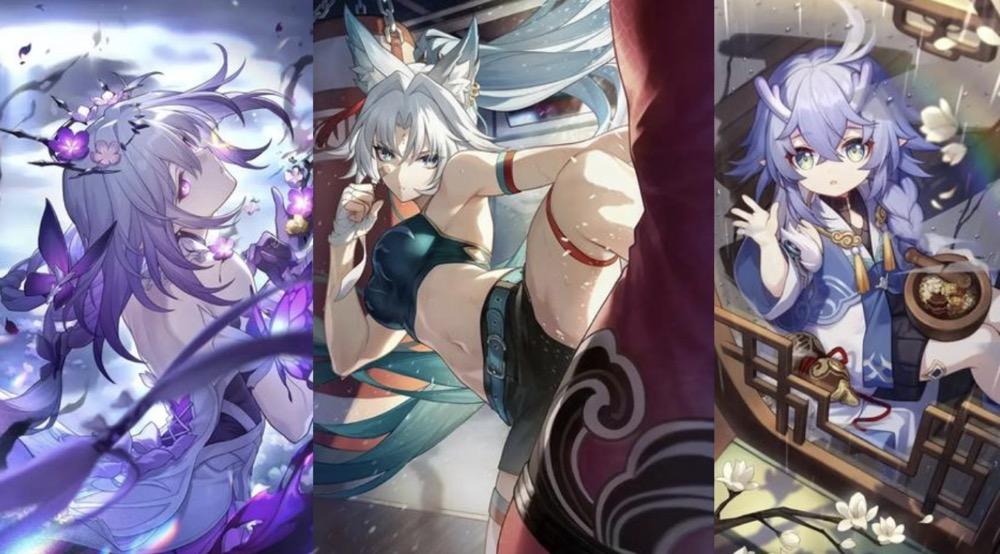
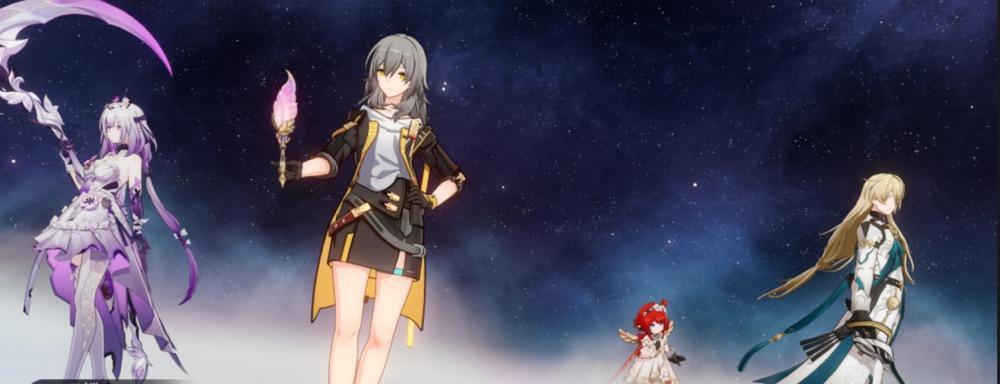
4. Best Team Compositions (Solo Carry & Dual Carry)
🧩 Solo Carry Team
Castorice + Memory MC + Topaz / Ruan Mei / Pela + Luocha / Gallagher
Support hits frequently; healers boost energy loop.
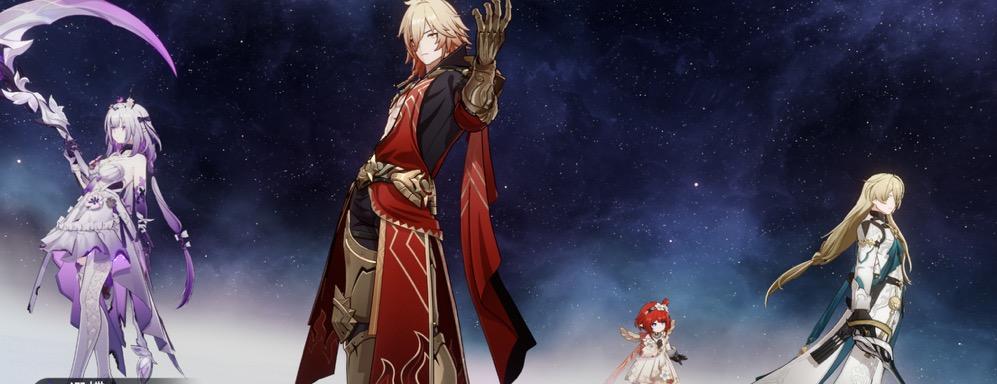
🔁 Dual Carry Team
Castorice + Aventurine + Topaz / Ruan Mei + Luocha / Gallagher
Aventurine clears chip damage; Castorice handles burst.
❤️ Recommended Healers
- Luocha: Fast healing, great synergy with non-attackers.
- Gallagher: Ultimate heals, reliable charge gain.
- Not Recommended: Huohuo / Lynx (better in other comps)
5. Popular Questions (Q&A)
- Q: Castorice or Himeko?
- A: Himeko is more versatile. Castorice wins in burst + cost-efficiency.
- Q: Is E0+1 enough? Do I need more Eidolons?
- A: Yes, recommended setups: 0+1, 2+0, or 2+1.
- Q: Best healer: Luocha or Gallagher?
- A: Luocha has wider utility, but both are viable.
- Q: Should I pair Sparkle with Huohuo 0+1?
- A: Not recommended—Sparkle’s role is currently niche. Prioritize newer units.
- Q: Is Robin worth pulling?
- A: Only if you run Break teams often. Otherwise, skip.
6. Pulling Strategy & Future Buffs
Castorice shines from day one and will likely receive future support (e.g., new Erudition/HP-scaling units).
Her trajectory mirrors Sparkle in 2.3: early strength + synergy upgrades later.
F2P can safely aim for 0+1 using free pulls. Excellent pickup for practical burst comps.
7. Conclusion: System Strength > Unit Strength
Castorice is a powerful unit on her own, but what truly elevates her is the burn/heal system she synergizes with. Even with free 4★ teammates and the Trailblazer, she can dish out 1M+ bursts with minimal setup. Her ideal build stacks HP and Crit, but energy cycling support is equally vital.
Whether or not she’s "T0" doesn’t matter. If you want to enjoy patch 3.2 with low stress and big numbers, Castorice is absolutely worth trying.
